Setup guide for C9-Starter WordPress Theme
Begin with a fresh install from WordPress.org
Theme, Plugin install, C9 Admin Dashboard Options, C9 Blocks Guide
Togo the doggy is gonna help guide you in each step of the install in the steps below. If you already know how to import content and setup a theme, you can skip to the customizer settings.
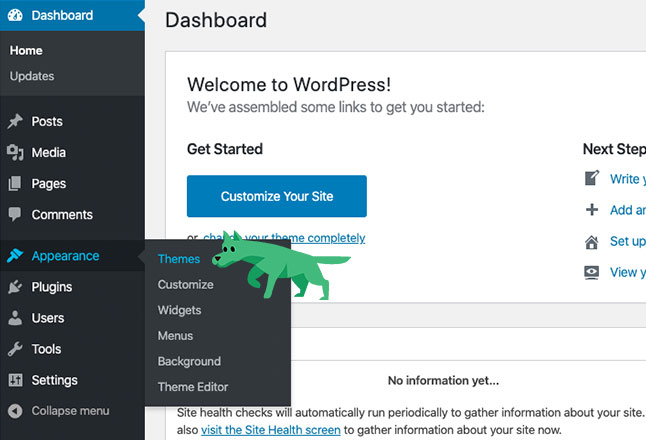
1 – From a fresh WordPress install click appearance > themes
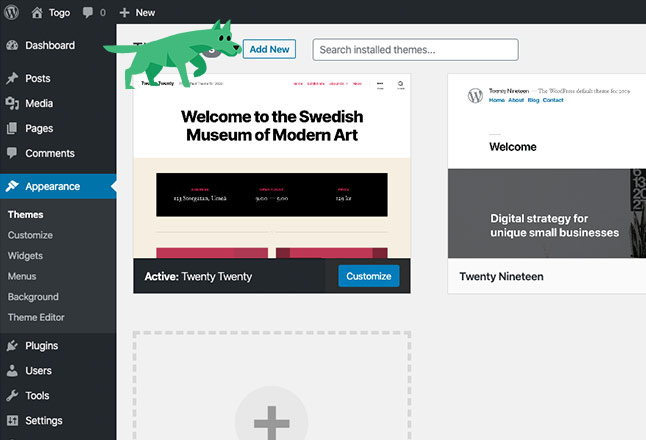
2 – Click the add new button
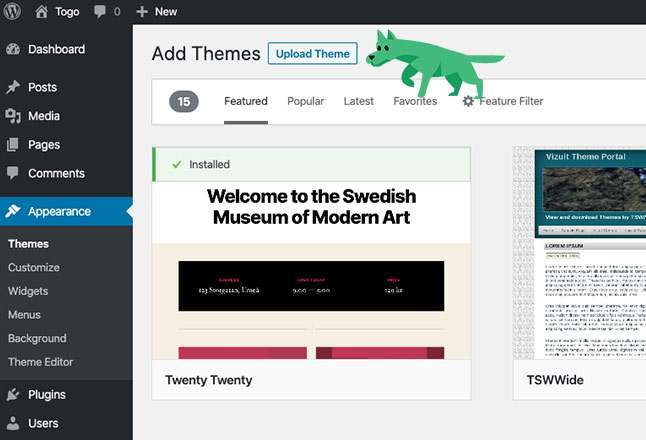
3 – Click the „upload theme“ button
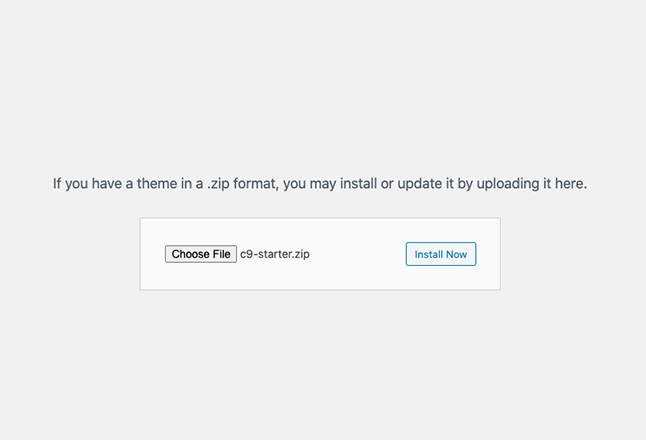
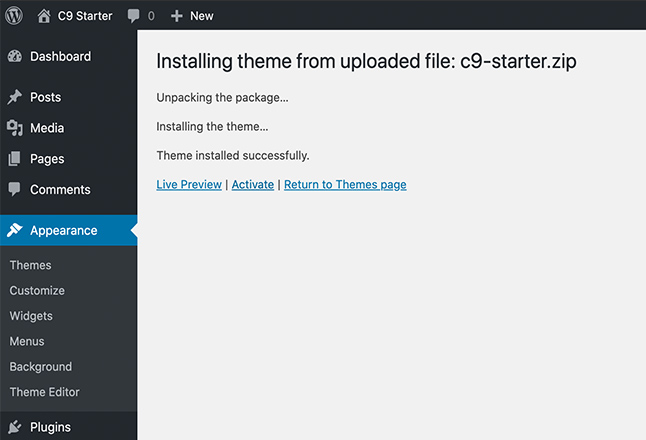
4 – Upload the theme zip file
5 – Activate theme
6 – Install the recommended plugins
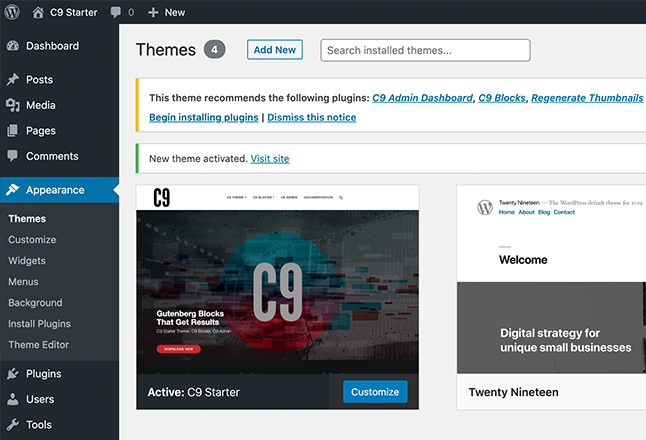
7 – Install the recommended plugins
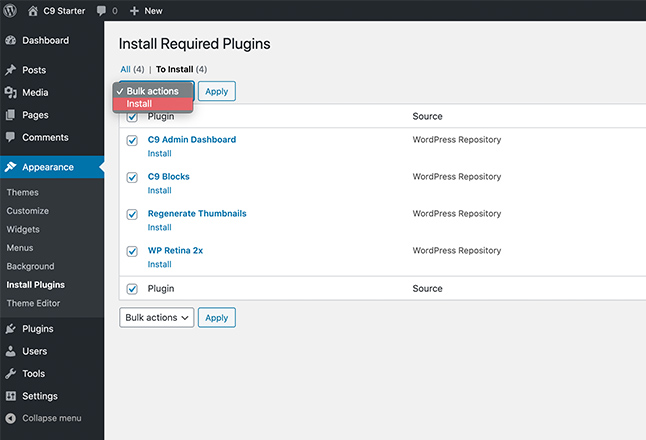
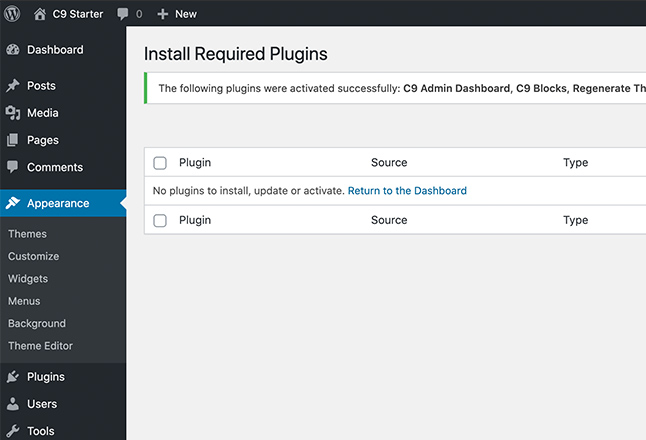
8 – Activate the recommended plugins

Select the top checkbox to bulk activate your plugins.
9 – Return to Dashboard
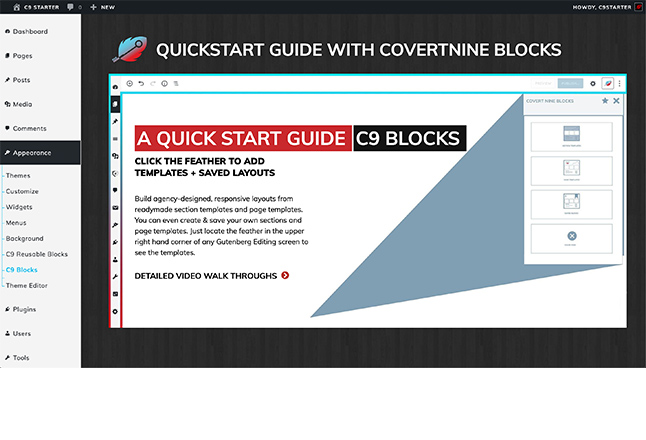
10 – The C9 Blocks quickstart guide
If you are not redirected to the C9 blocks Quickstart Guide, click C9 Blocks from the Appearance admin menu
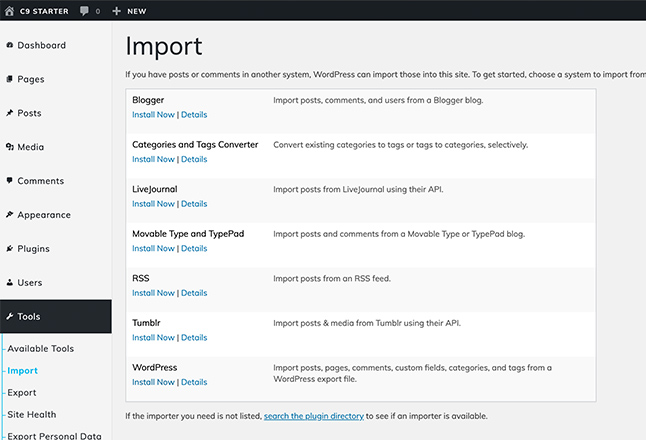
12 – Install WordPress Importer
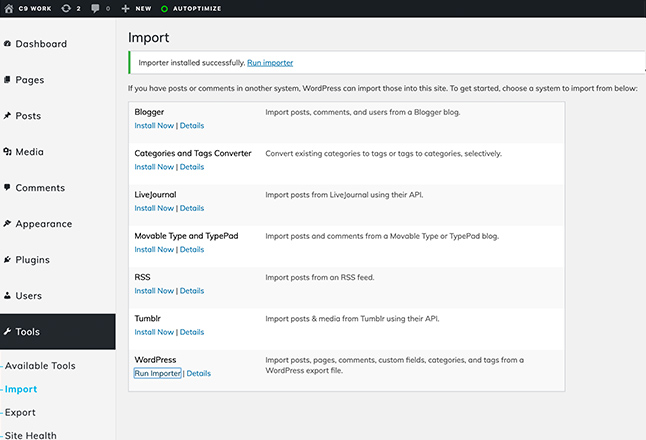
13 – Run importer and upload sample content xml file
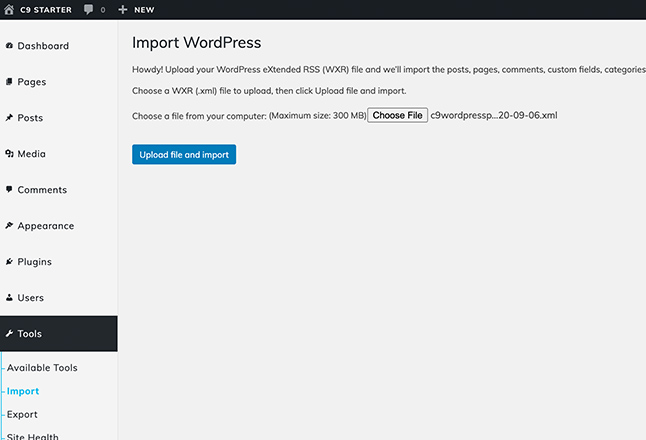
14 – Upload sample content xml file (Optional)
If you’d prefer to start fresh, head to Appearance > Customize to import minimal sample content.
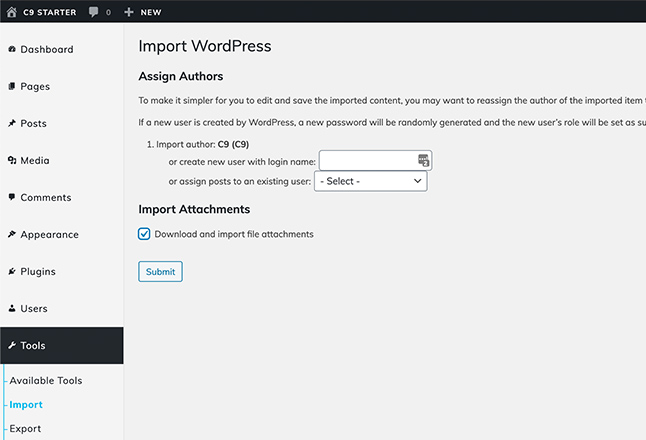
15 – Import authors (Optional)
16 – Once the import is done, configure C9 Admin settings
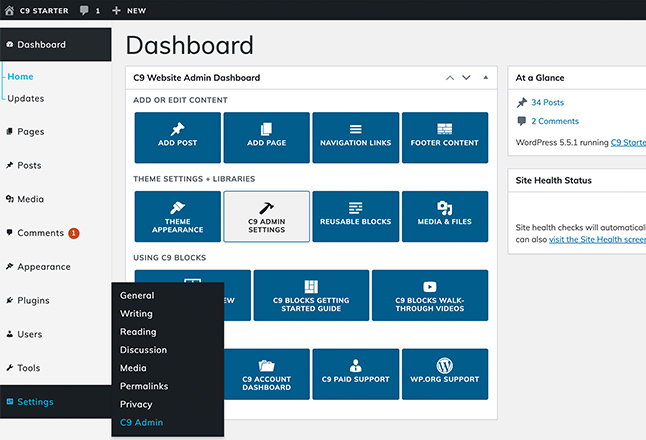
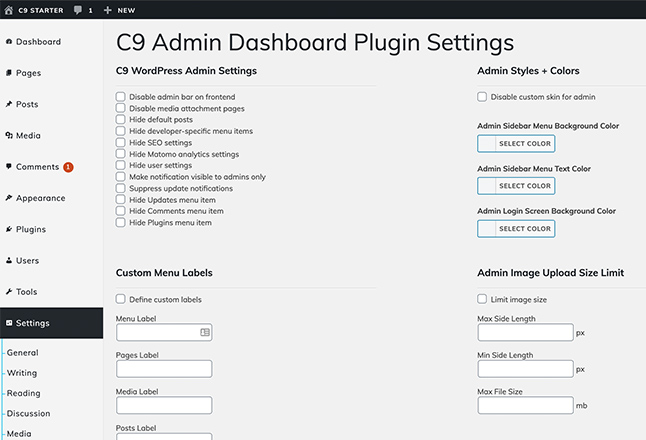
17 – C9 Admin Dashboard settings
18 – Click Appearance > Customize
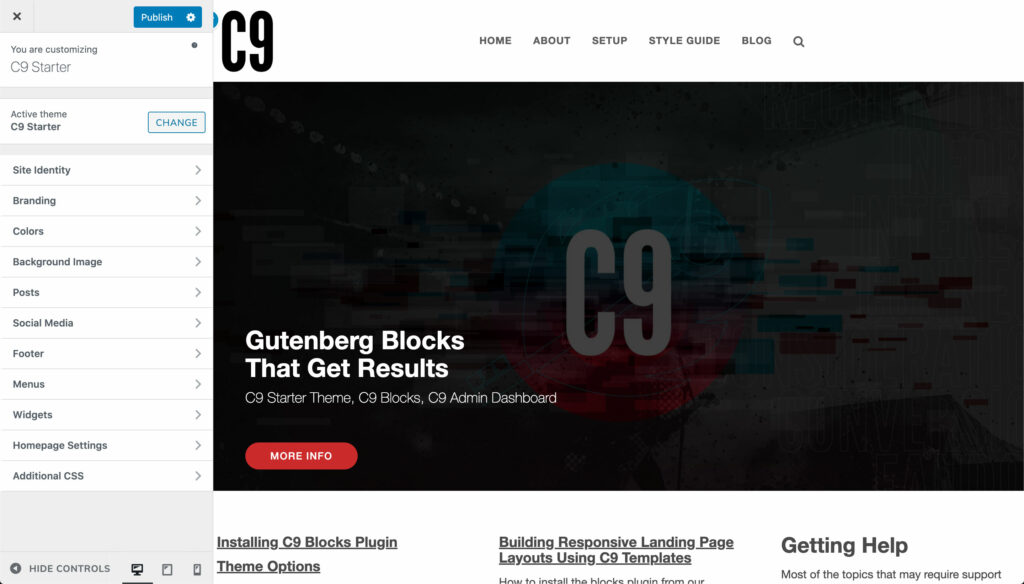
C9 Starter Customizer Settings
Site Identity
Logo enter in a logo for your site. We recommend using an SVG for logos so they’re always crisp on all screen sizes. If not, the recommended height and width of your logo should be an image that’s at least 92 pixels height by 286 pixels wide at 144dpi.
Site Title enter the title used for your site that is used for the title on pages
Tagline enter the tag line that shows up in the title bar on the homepage
Dark Logo enter in a dark version of your logo to be used on a light navbar background. (If this is the same as your light logo, you can enter the same logo in this field. We recommend using an SVG for logos so they’re always crisp on all screen sizes. If not, the recommended height and width of your logo should be an image that’s at least 92 pixels height by 286 pixels wide at 144dpi.
Site Icon creates all of the icons used by the browser, as well as bookmark icons on phones. We recommend a 512×512 PNG image at 144dpi for this icon that will look good on both dark and light backgrounds.
Branding
Use C9 Theme Fonts? If you plan on enqueuing your own fonts with a child theme or via CSS, you can set this to no so no additional font files are enqueued. If you’d like to use fonts from the theme, you are able to select a heading, subheading, and body paragraph font style for use in the C9 Blocks like the C9 Heading and C9 CTA Bar.
Colors
Select a background color. By default, the background color is white.
You can set theme colors using the C9 Blocks plugin by clicking on the feather icon in the upper right hand corner of the post or page edit screen to set your saved colors for re-use in block text colors, headings, background colors, and more. We’ve registered a few colors from the theme itself, and you can add your own custom palette colors by clicking on the Add Color button seen in the screen shot.
Background Image
Select your background image for the website.
Posts
Do you want to show or hide the author name on posts? Select whether or not to display author names on single posts. Default is to hide author names.
Display a sidebar on single posts? Show a sidebar on single blog posts on the right or left with widgets from the Appearance > Widgets widgetable area from the WordPress admin depending on your sidebar selection.
Display a sidebar on archive pages? Show a sidebar on the post index screen, tag, and archive pages with widgets from the Appearance > Widgets widgetable area from the WordPress admin depending on your sidebar selection.
Social media
Show or hide social media icons in the footer with URL fields for popular social networks and content networks
Footer
Display search in footer Show or hide the search field in the footer. We recommend showing this for accessibility reasons.
Copyright Input your copyright message for the footer.
Menus
Create menus for your theme using the built-in WordPress menus, or go big with Max Mega Menu, widgets, and custom navigation widgets like we did on this site.
Be sure to set a default menu. If you imported the sample content from this page, you should be able to set the Universal Top Navigation menu to the Top Navigation Menu Menu Location from the customizer so your top navigation shows up in the header.
Widgets > Footer
Select as many widgets as you’d like to display in your footer. We recommend showing 3-4 widgets in a single row for the best design in the footer. Widgets display in rows of 4, and break into single or double columns on mobile layouts depending on available screen space.
Homepage Settings
Your homepage displays A static page if you want to build your own homepage like we did on this site, or you can set it to a page you imported during the sample content import from above.
Homepage Set the Homepage to the Homepage that should have been imported during the sample content import.
Posts page Set this to the page on the site that will act as the archive for your blog post. If you imported the sample content from the C9 Work demo, set this to the News page.
WooCommerce (Optional)
If you plan to sell items on the site, or use an online catalog feature, you can activate WooCommerce and make adjustments to the settings for the Store Notice, Product Catalog, Product Images, and Checkout from within the customizer.
Additional CSS
Should you need to further customizer or tweak any of the visual elements of the site, you can enter in any custom CSS here, which will be applied inline to the theme between the <head> tags.
This theme makes use of Bootstrap v4. You can attach any Bootstrap class to additional class fields in any CSS field throughout WordPress and the C9 Starter theme.
Using C9 Blocks
Learn how to build complex landing pages with the screen recordings on our site or on our YouTube Channel.
Need help from the pros? Hire the team of designers, digital marketers, and developers that built this WordPress theme.